Resource Guide
Automatic Tire Label Rolls: The Applicator Needs More Than Artwork
A beautiful tire label can still stop a line if the liner, gap or winding direction does not suit the machine. Build the roll specification from the actual applicator manual and a line sample.
Published 2026-09-30
Digital proof before production. Material and adhesive options are discussed according to your application requirements.
Quick Answer: Send the Machine Specification
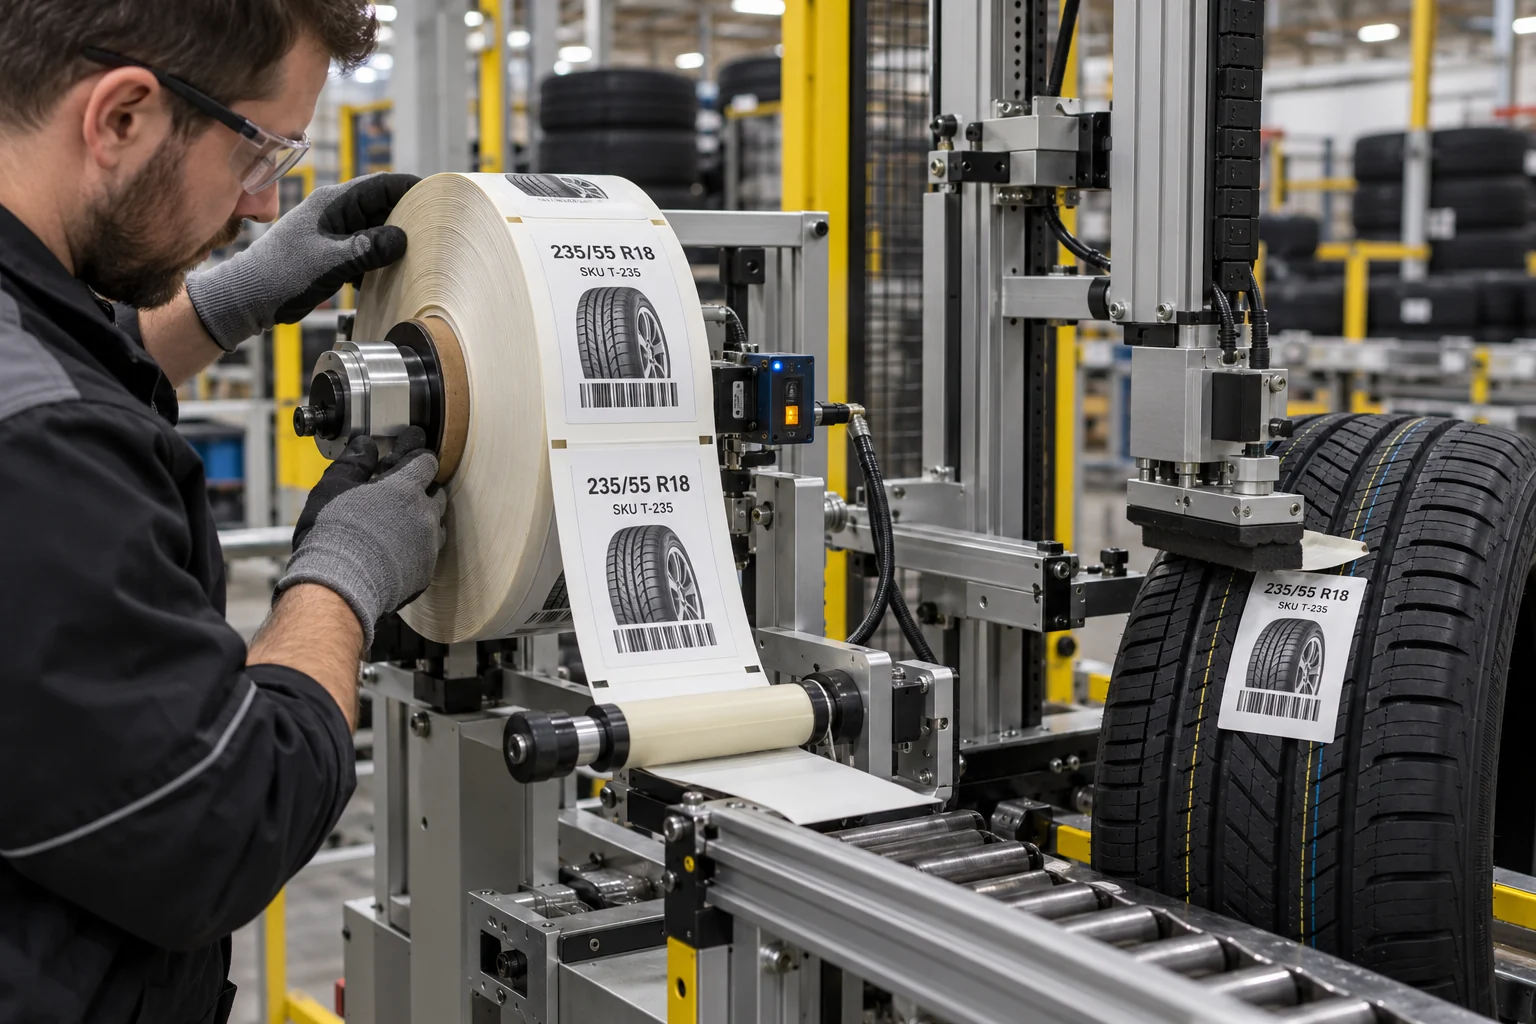
The applicator must feed, detect, peel and place each label consistently. Capture the machine make and model, label width and pitch, gap or mark sensor method, liner width and type, core inside diameter, maximum roll outside diameter, winding direction and label orientation on the web. Zebra documentation illustrates how media sensors may rely on gaps, notches or black marks, but a tire applicator may have different hardware. Its own manual and a production trial govern the purchase.
An Illustrative Line Stop
Imagine a purchasing team sending only a PDF of the tire graphic and the desired label size. The delivered roll fits on the spindle, but the sensing mark is on the wrong side of the liner. Operators can hand-peel a few labels, yet the automatic feed misses positions. This is a composite example, not a report of a real line. The missing information is not another artwork revision; it is a signed media drawing and a short trial with the intended roll construction.
Specify the Web, Not Just the Label
Ask the equipment owner for a current approved media sample. Measure the label after die cutting, then record the web pitch, edge margin and leading-edge orientation as the machine sees them. Confirm whether the sensor reads through the gap, sees a printed back mark or follows another registration method. Record label face-out or face-in, left or right unwind and the direction of text as the roll enters the applicator. Treat all dimensions as project values, not generic tire-industry defaults.
- FINISHED LABEL: width, length, corner shape and print position.
- LINER: width, release characteristics and any back mark.
- PITCH: label plus gap measured along feed direction.
- ROLL: core, outer diameter, winding and splice policy.
- APPLICATION: tire position, speed, pressure and contact area.
Do a Representative Application Trial
Run a small approved roll on the actual dispenser with the intended tire range. Look for missed picks, liner breaks, label curl, inaccurate placement and readable data after application. Some failures come from media geometry; others from the applicator setting or tire surface. Do not infer adhesive performance from clean release at the peel plate. Check adhesion separately on representative tread surfaces under the real application conditions. Record machine settings with the approved roll version so a reorder is not a new experiment.
Quote Brief and Change Control
Send the applicator model, roll drawing, approved sample, face material and adhesive requirement, printed artwork, variable-data file, tire surface photos, target quantity and scan method. State which fields may change by SKU and which dimensions must stay fixed for the machine. Ask for a physical proof and approved media specification before volume production. A change in liner, gap or core is a process change even if the label artwork remains identical.
FAQ
Questions Buyers Ask
Is core diameter enough to specify an automatic roll?
No. Liner, sensing method, pitch, orientation, outside diameter and machine settings matter too.
Can a hand-applied sample prove line performance?
No. Test a representative roll on the intended applicator and tire surface.