Resource Guide
Custom Label Sample Approval Checklist: What to Check on the Product
A custom label sample is most useful when the buyer checks the printed information, physical placement and application workflow on the product that will actually carry it. Use one signoff record for all three.
Published 2026-09-27
Digital proof before production. Material and adhesive options are discussed according to your application requirements.
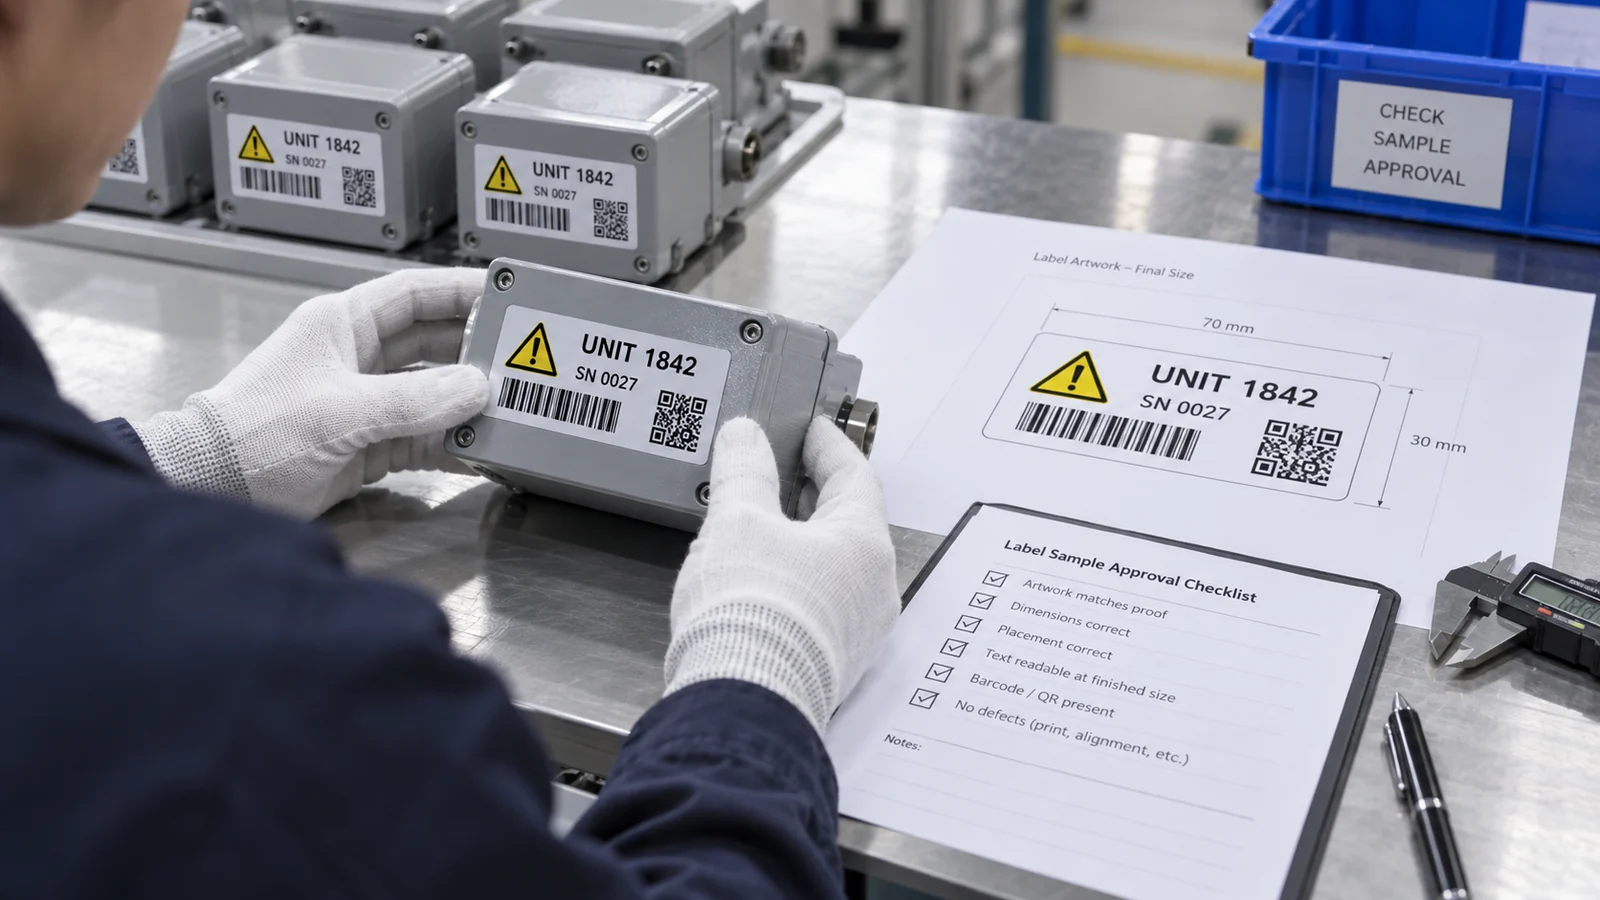
A PDF Proof and a Physical Sample Answer Different Questions
The PDF helps confirm spelling, approved artwork, code content and the intended cut line. The physical label adds finished size, surface fit, handling and the view a worker will have at the product. A buyer who signs off a screen image while the production sample sits untouched has approved only part of the order. Put the sample on the actual tire, drum, panel or housing before the bulk decision.
A Composite Approval Desk: Everyone Checked a Different Version
In a composite equipment-label project, purchasing checks the quantity on the quote, design checks a PDF on screen and maintenance examines a printed sample on a cabinet. Each person does a reasonable job, but their files have different revision names. The useful next step is a single sample signoff with the revision, finished size, data example and placement photo attached. It prevents a conversation about three separate labels from sounding like one approval.
Six Checks That Make the Sample Useful
Review the sample in the order someone will use it. First look for the field that must be found quickly, then examine details and physical handling. Record any change as a new revision rather than a verbal aside after signoff.
- CONTENT: approved wording, pictograms, product size and language version
- DATA: serial, batch, barcode and QR content against the source file
- SIZE: finished width, height, cut shape and safe margins
- PLACEMENT: visibility on the real product, including seams, curves and handles
- APPLICATION: surface preparation, label orientation and roll or sheet format
- RECORD: sample ID, artwork revision, reviewer, date and requested changes
Do One Real Use Action Before Signoff
Scan a code with the device that operators use. Read a tire size at the display position. Open the cabinet door. Peel a removable sample at the planned handoff. The right action depends on the label’s job. A sample can look perfect in a hand and still fail to answer the buyer’s daily question once the product is in place.
Close the Approval Loop
If changes are requested, state which fields changed and whether the physical sample must be repeated. Confirm the approved revision in writing and keep the matching photo or sample reference. For demanding use conditions, agree separately on a representative evaluation of material and application performance. Neither a screen proof nor a brief visual inspection proves every service condition.
FAQ
Questions Buyers Ask
What is the difference between a label proof and a sample?
A proof shows the intended artwork and data layout. A physical sample lets the buyer review the finished label on the actual product and in the intended use position.
Who should approve a custom label sample?
The buyer should identify reviewers for content, data and physical application, then record one agreed revision and any required changes.
Should a sample be repeated after an artwork change?
It depends on the change. If size, cut, placement, critical text or code fields change, decide explicitly whether a revised physical sample is needed before bulk production.