Resource Guide
Tire Tread Label Size: Proof Narrow and Wide Tires Separately
A label that looks balanced on a wide tread can crowd a narrow one. The useful proof is not a zoomed PDF; it is a finished-size sample on the smallest and largest tire in the purchase group.
Published 2026-10-16
Digital proof before production. Material and adhesive options are discussed according to your application requirements.
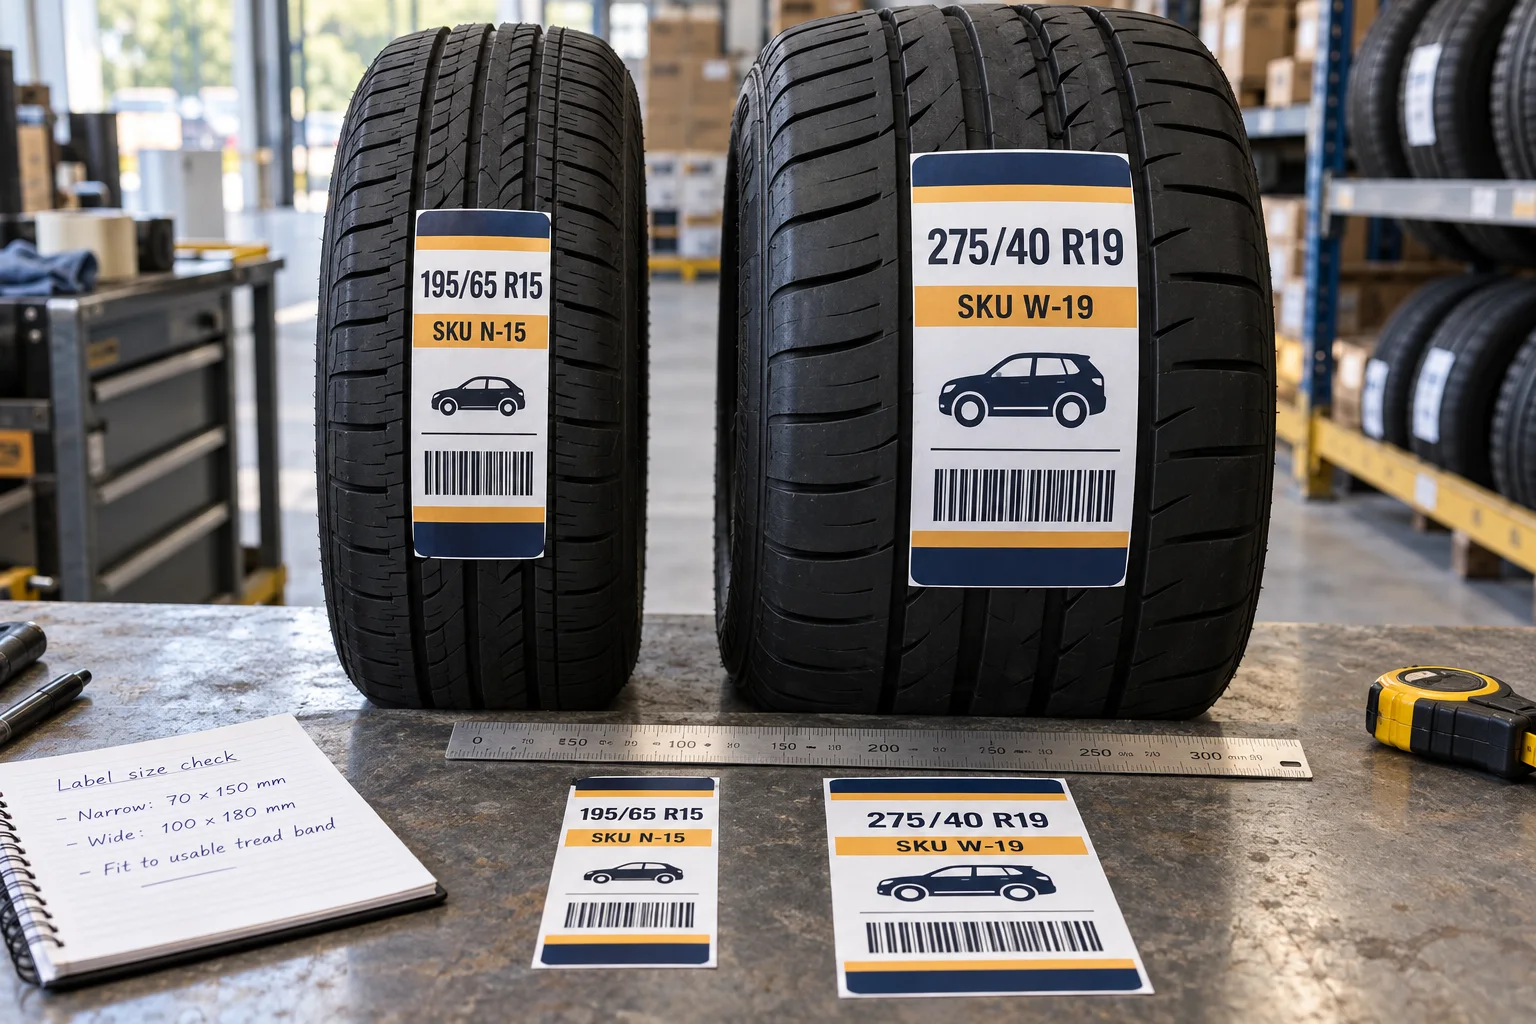
Quick Answer: Measure the Usable Tread Band
Measure the actual area where the sticker will sit on representative tires. Record grooves, shoulder curve, intended orientation and where a worker reads or scans the data. Nominal tire size alone is not a label-width specification. The decision here is not merely where to apply the sticker, but whether one physical die-cut and one typographic hierarchy remain usable across a family of sizes.
The One-Size Proof That Can Mislead
Consider a fictional order spanning 195/65 R15 and 275/40 R19. Those are sample artwork strings, not fitment recommendations. A designer scales the wide-tire layout down until it fits the narrow tread; the product size and code now look fine on screen but read poorly on a physical sample. Stretching the narrow layout across the wider tire can waste material and push text over channels. The issue is the finished geometry, not the brightness of the mockup.
Build a Size-Family Matrix
For every SKU, list the approved designation, measured usable band, preferred label orientation, mandatory text and code payload. Test the smallest representative tread first if one die-cut is proposed for many SKUs. Split into two size families when the application area or readable-data space materially changes. A common die-cut can still carry variable data, but a common PDF canvas does not prove that all printed variants fit.
- TIRE: actual sample and contact-band measurement.
- LABEL: finished width, length and corner shape.
- DATA: SKU, size and approved encoded value.
- PROCESS: hand or applicator direction.
- PROOF: narrowest and widest applied samples.
Do Not Shrink the Most Important Text First
Remove optional marketing copy before reducing the tire designation, SKU or machine-readable area. Keep the chosen barcode symbology and its clear space in the proof, then scan a finished sample with the receiving device. A pattern that fits a screen is not a measured scan result. The product owner decides which information is mandatory, while the print supplier can show alternative layouts and die-cuts.
Think About Roll Supply After Artwork
A second physical width can change liner layout, roll count and presentation at an applicator. Specify core, unwind direction, quantity by SKU and whether staff change rolls between size families. Do not infer adhesive suitability from the photograph in this article. Evaluate a finished sample on representative tire surfaces under the buyer application and removal process.
What to Send for a Quote
Supply the SKU matrix, narrow and wide tire photos with a ruler, intended contact area, approved fields, code specification, scanner model, volume by variant and preferred supply format. Ask for a shared-size and a split-size option where plausible. The cheaper roll is not a bargain if staff later trim labels or reprint unreadable data.
FAQ
Questions Buyers Ask
Will one label size work on every tire?
Only an applied proof on the relevant smallest and largest tread surfaces can establish that for a particular order.
Should narrow tires simply use smaller text?
Not automatically. Reprioritize fields and test the real reading and scan conditions first.