Equipment Window Labels: Approve the Viewing Side and Adhesive Side
Published
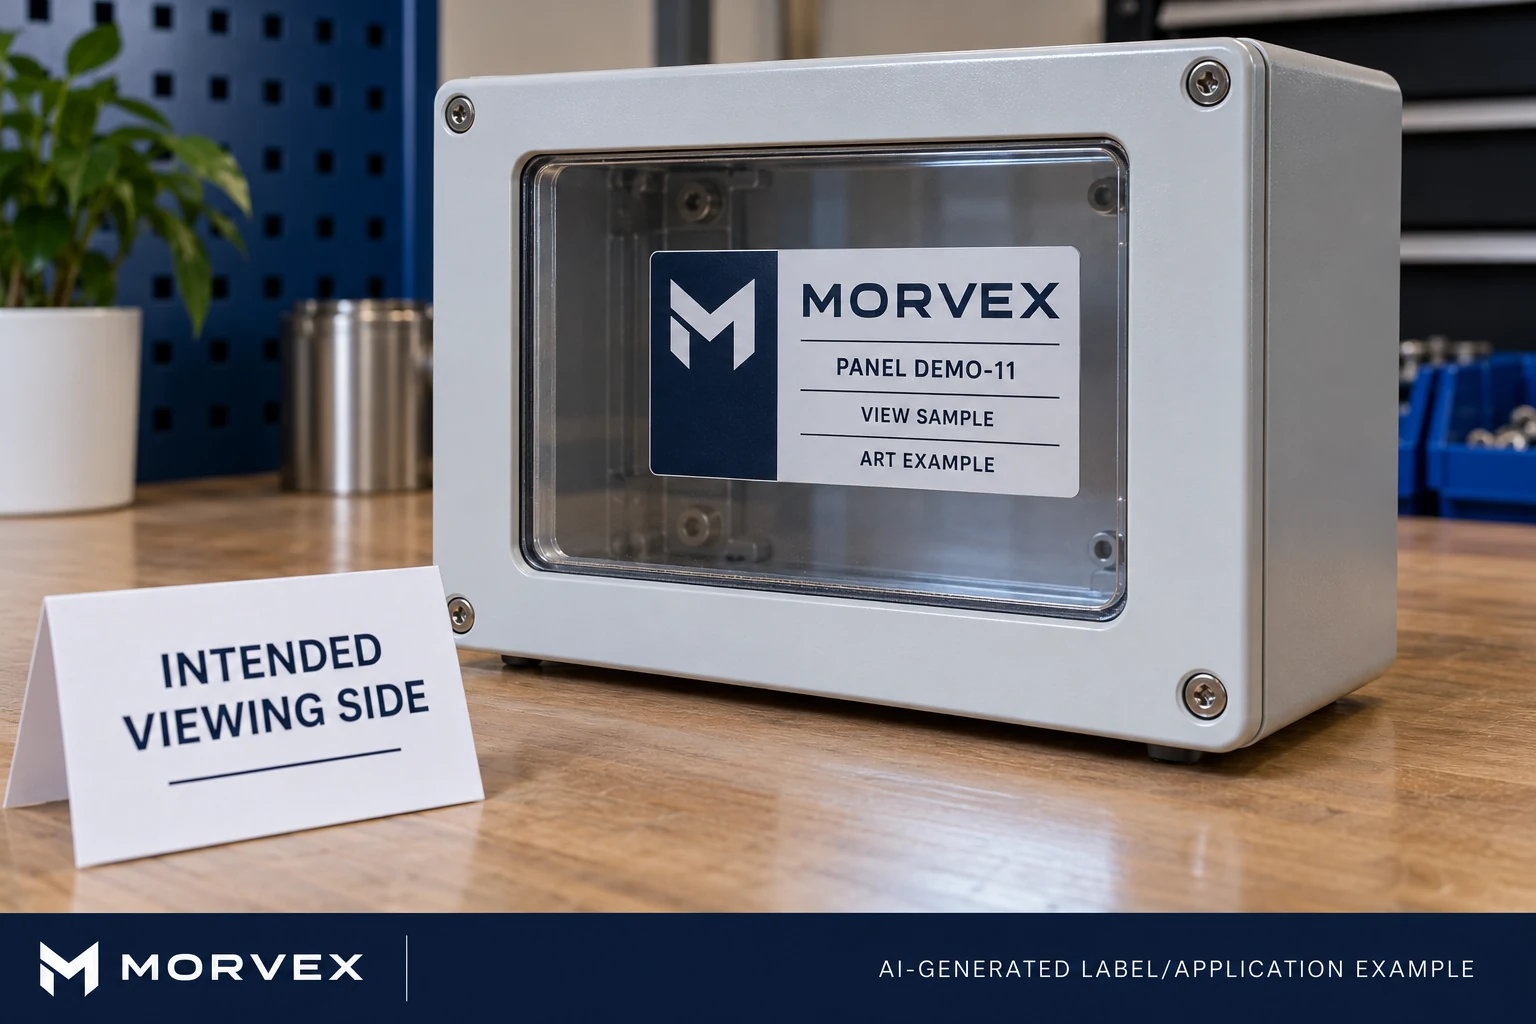
The buyer wants the label inside the clear panel, where routine handling will not reach it. The operator needs to read it from outside. The request says clear film, but it never identifies which face bonds to the panel or how the assembled text should appear.
Transparency alone does not complete that specification. Approve the intended viewing side, bonding face and assembled appearance together. Then have the supplier explicitly confirm a suitable construction and review a finished sample through the actual panel.
The purchasing question is the direction of the installed information. It is different from choosing a transparent perimeter for appearance, or applying an ordinary face-viewed label to an opaque housing. Do not assume those constructions are interchangeable.
Mark the reader's position before discussing the layers
Take a photograph or simple drawing of the actual panel. Mark the intended reader side and the proposed label position on the other side. State whether the panel remains permanently in place and which side is accessible during installation.
Use plain names such as operator side and inside face, tied to the drawing. Front and back can change meaning when a designer, converter and installer hold the loose label differently. The drawing should let all three point to the same physical faces.
If information must be readable from both sides, state that separately. Do not quietly add a second viewing requirement after a one-sided sample is approved. A two-sided brief can introduce different background and construction questions, which require explicit confirmation.
Ask for a view-and-layer proposal
Have the supplier explain how the proposed label will present the approved information through the specified panel. Identify the bonding face, printed information and any background layer needed for the intended appearance. Procurement does not need to invent a manufacturing recipe to ask those questions.
A 3M second-surface window-graphic bulletin, dated March 2014, describes a particular product intended for behind-glass installations. It is a historical example of a defined viewing arrangement. Its material, perforation, process, durability and warranty cannot be transferred to an equipment-label proposal from another supplier.
Ask for confirmation of the actual proposed construction instead. A statement that a film is clear does not tell the buyer how the information will appear after bonding. Nor does a familiar phrase such as reverse print define every layer in every supplier's process.
Walk one sample through the intended assembly
Use the panel owner's permitted installation process. Keep the sample identifiable and record the artwork reference. The sample should demonstrate the proposed arrangement, rather than merely placing loose artwork behind a convenient piece of glass.
From the intended reader position, compare the visible text and original brand mark with the approved reference. Check that the information reads in the correct direction and that the intended background does not obscure it. Review the actual panel's color, finish and viewing conditions where relevant.
Then inspect the installation side. Confirm where the label is bonded and whether that matches the approved sketch. A sample can appear correct from one viewpoint while leaving the installer unsure which face to apply. Resolve the instruction before the loose samples become a bulk roll.
The sample-approval checklist provides the broader signoff. Add this particular viewing path and assembly reference so the approval describes what was actually examined.
Keep orientation and contrast as separate checks
Correctly directed text can still be difficult to read through the installed panel. An opaque background may help some information, while transparent areas may serve the intended appearance. Have the supplier identify what is proposed and review the result on the actual part.
The clear-label contrast guide addresses information disappearing against a dark opaque substrate. This window project adds another relationship: the reader looks through a permanent panel toward a label on its other side. The same loose sample viewed on white paper does not demonstrate that assembled result.
Do not infer adhesion, service life or scanning performance from the visual direction check. If those properties matter, agree the separate evidence needed for the actual construction and conditions. One sample should have a stated review scope rather than silently representing every possible approval.
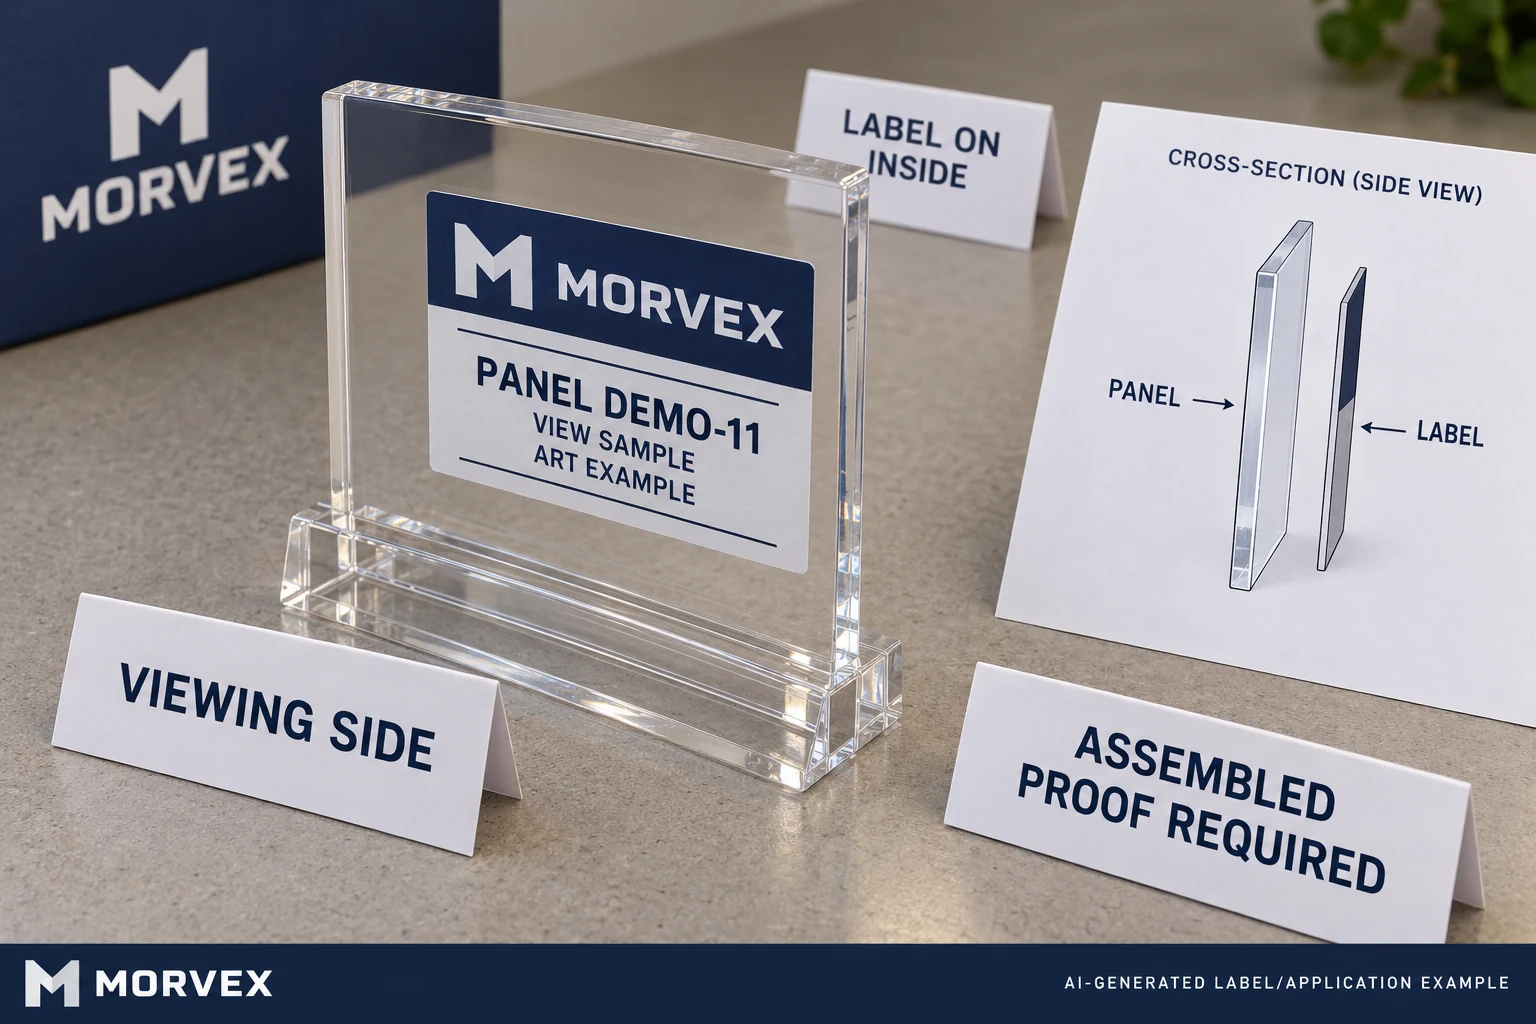
An ordinary exposed label can be the simpler option
Inside mounting can be useful when the design requires information to sit behind a permanent transparent part. It also adds construction and installation decisions. Do not add them merely because a hidden label seems more sophisticated.
If an approved accessible surface lets an ordinary face-viewed label perform the required job, compare that arrangement. It can make installation direction easier to communicate. Its exposure and surface compatibility still require review; simplicity does not mean automatic qualification.
Conversely, moving the label outside may defeat a real design requirement. Let the equipment owner identify the reason for inside placement, then compare options against that reason. A purchasing team should not remove a functional constraint solely to make an unconfirmed construction easier to quote.
Send a drawing that survives the handoff
Retain the panel reference, reader position, bonding face, approved artwork and sample photographs together. If the panel or label construction changes, have the owner decide what must be reviewed again. Do not assume a new clear material preserves the same assembled appearance.
For equipment and machinery labels, I would start this inquiry with the marked viewing sketch. It gives the supplier a concrete arrangement to assess while leaving actual capability and construction confirmation explicit.
Planning an inside-mounted label? Prepare a viewing-and-assembly brief with panel photos, material reference if known, marked reader and bonding sides, approved artwork, dimensions, exposure, installation process and quantity. Organize the requirements on the contact page, then send supporting references through the existing email or WhatsApp path for a project-specific discussion.